Saturday, 1 March 2014

Polytunnel day 2 + 3

At the end of the weekend of building we managed to get a door frame in place and starting to get the edging on, this will be used to secure the sheeting and netting once in place.
all arches on and most of battoning

Jeffs lovley joinery

rainy morning loaf

first raised bed, used to step ground from road to garden hight


 After a rainy start to day 3 the weather cleared up and spent the afternoon starting to build the raised beds and landscaping the ground so that it is more level.
Brody on a fence

Sunday, 23 February 2014

polytunnel day 1

With the trees out of the way, we decided to push on with the pollytunnel build.

We plan to build a tunnel similar to Alans but a little bigger (10m x 4m), using scaffolding set in the the ground, then plastic water pipe for the arches.

First we marked the perimeter out with some twin and sticks, we decided to leave the tree holes and soil mound until we knew where beds and paths were going (and therefore where we have to move the soil.)

We set the corned posts in postcrete, then decided to set the rest for good measure, we then cut a bit of water pipe to have a bit of fiddle, the grease Alan recommend is very handy. After some wrangling we decided it was a good idea to have the scaffolding approximately 3ft above the ground. the road side ones we gave a good wack, but the inside ones we dug carfully so not the interfere with our houses soakaway.

We then cut the remaining bits of pipe and scaffolding, tomorrow hopefully we will install and the remainder tomorrow, some bracing and the door frames!! Bellow are a few photos of our progress.

Its extra exiting because we are only loosing about a 1m band of garden space, as the trees took up the 3m edge of the garden and made for a poor hedge with all the gaps.

Holes Dug, just add water then postcrete
Cutting the Scaffolding to size with a angle grinder
First arch in place, trail run

Rest of Pipe cut to 7m lengths.


Saturday, 22 February 2014

Getting to the root of the problem...

Gallileo once said "if you give me a lever long enough I shall move the earth". Unfortunately, the levers in this case were no longer than 7 feet. 
After an epic battle of man vs. nature, Joe and Jeff (our feller in residence) secured a narrow victory over 4 willow tree stumps. They hacked at the trees all day and then they were gone.

How did they do this I hear you ask:
1) Dig trenches around the base of each tree
2) Hack at the roots with a combination of an axe, a bow saw and a hatchet (and some brute force)
3) Lever the tree, and repeat step 2 as and when necessary until the tree frees up, chop it up with the chainsaw
4) Once the tree was dragged across the garden, hack up the roots with an axe (and gusto)


Sunday, 16 February 2014

Clearing Willow Trees Part 2

Time is running out to have the pollytunnel operational by this spring, so spent today sorting the remaining wood into a pile for building things/ bean poles and bigger bits that we will use for firewood.

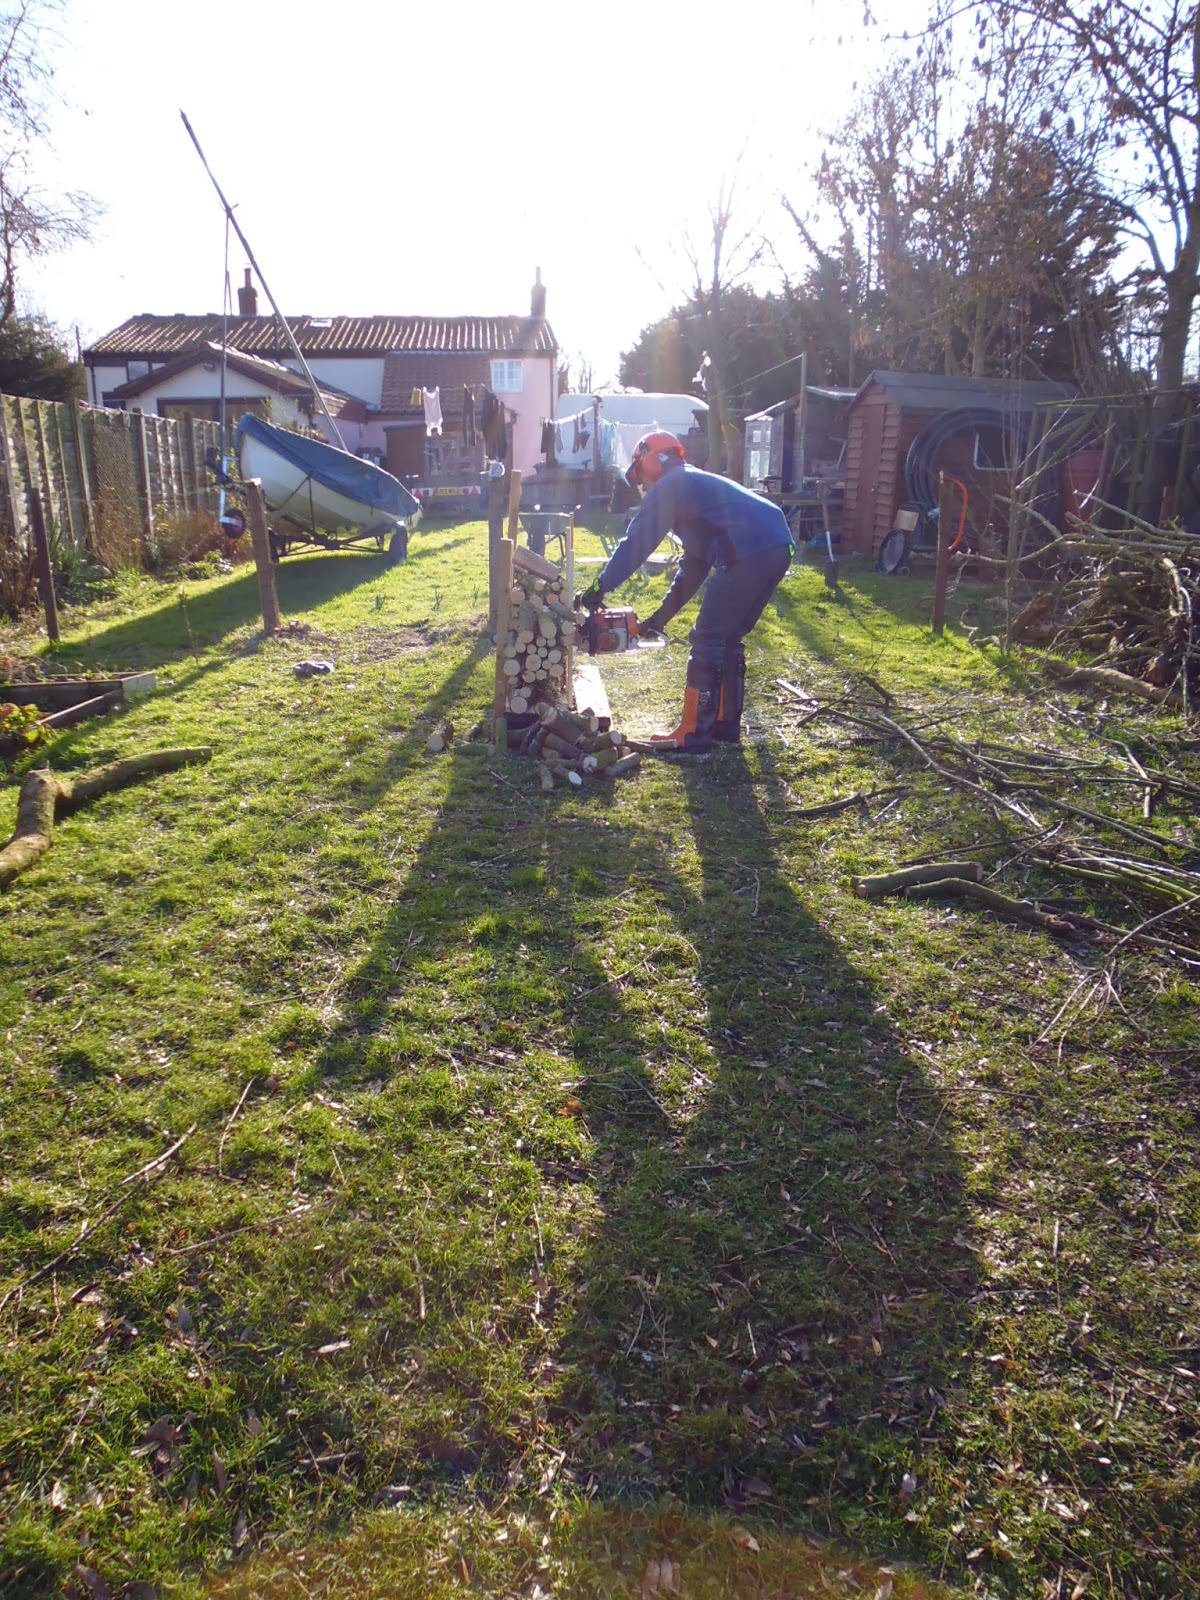
Before the sorting started I decided it would be much quicker to build a Jig to hold the logs, enabling us to use the chainsaw to cut lots of logs at once! IT worked really well, I am not sure how long it will last as there has already been a couple of accidents, but it is only a bit of pallet that we will cut up and burn eventually anyway.

Next stage will be to remove the tree stumps, level the ground, measure and start to build upwards!!

 Pallet Cutting Jig, worked really well! good time saver.
 Poor Chainsaw Posture, Will bend the knees next time
Storage of Bean poles/ building poles, all the stuff that is too small to use for fire wood, but too big for faggots.

Woodburners!!!

After much discussion we decided it was time this winter to go ahead and install a woodburner!
We had an open fire when we moved in, which we used a lot, however they are not as efficient as Woodburners, and also they are not as safe either ( you wouldn't want to leave the open fire going whilst you went out or to bed...)
So we opted for a charnwood 4 , which is a 4.7 kw model with a wide and less deep shape so you can fit big logs in ( less faff). Joe made us a mantlepiece out of an old railway sleeper from a local bridge which was being dismantled. It is made from an Australian wood. He cut it and lovingly sanded it to perfection!
We got someone in to install the burner in the end. The tiles were replaced with slate and the chimney was opened up to the exposed brick behind.
We still need to paint the surround but waiting for summer/ havent yet found he motivation...
I think you will agree the difference is pretty amazing!

Small things matter #2

So complete fail on letting you know about how changes went to suggestions in the small things matter post (sorry about that!) But have been having more of a think about how to be the most efficient we can be and how to run the cottage well. Have been continuing to make small tweaks as and when.

I've come up with a sketch of how our cottage is heated and kept watered. As you can see we have also made estimates of what thibgs cost annually.
Since we have lived here, we have made some one off payments which will see us through (loft insulation, woodburner installation). These help keep costs to a minimum.

We are also planning to build a composting loo this summer, which will hopefully reduce the amount of fresh water wasted by flushing the loo. Also a friend told me of a trick, any time you run water in the shower before you stand under it (10 seconds each time? ) put a bucket under the shower and collect the water, then this can be used from time to time to flush the loo.
We also use the ' if it's yellow let it mellow' rule...

Saturday, 15 February 2014

Chitting Time + Willow Arch

Although the Garden is still far from ready to put plants into the ground, we have just built a chitting shelf in our new shed (soon to be Loo Shed).

We ambitiously asked for some seed potatos from Lous parent for a Christmas present, which we collected recently. It is a good idea to store them in a cool but light places to get them in to growing mode, encouraging little stubby shoots, so when they get into the ground they get off to a flying start.


After some discussions with some people at work, we opted for the drastic action of cutting our willow arch back down to the ground, copicing it. It was getting out of hand and too woody to weave in, so hopefully we should get lots of new growth that we can weave in as it grows. However, much of the arch was made of dead wood, so might be worth poping a couple of new sticks in aswell, we have a couple floating around!
 

Spring is also most here though, with buds on the bulbs down the bottom of the garden!